
Description:
Loom.com is a free web-based tool that lets you make videos you can share with others, such as clients, colleagues, tech support, or assistants. Often, a video does a better job of communicating with people than mere text or a screenshot. Christina uses these videos frequently in her business procedures and training material. You can use Loom videos as disposable videos that can help us support you with your current issue. You can also use Loom videos for your marketing purposes, but this course will not cover that. In this lesson, Christina will demonstrate the simple, straightforward process that allows you to effectively communicate ideas, share knowledge, and engage with others online. Anyone can do it! (Length: 9 min. 50 sec.)
Example of a loom video:
https://www.loom.com/share/ae4bdcb7209f4769b5e5e43194a2b76d?sid=793c417f-e8e9-4940-b6dc-a2a15aa41cfb
Loom video from the training above: https://www.loom.com/share/c6ecf9b492714bbcb48948f37ac04378?sid=ff4f213e-971a-4bdc-b561-b8d9bbe16221
Instructions on How to Create a Loom Video:
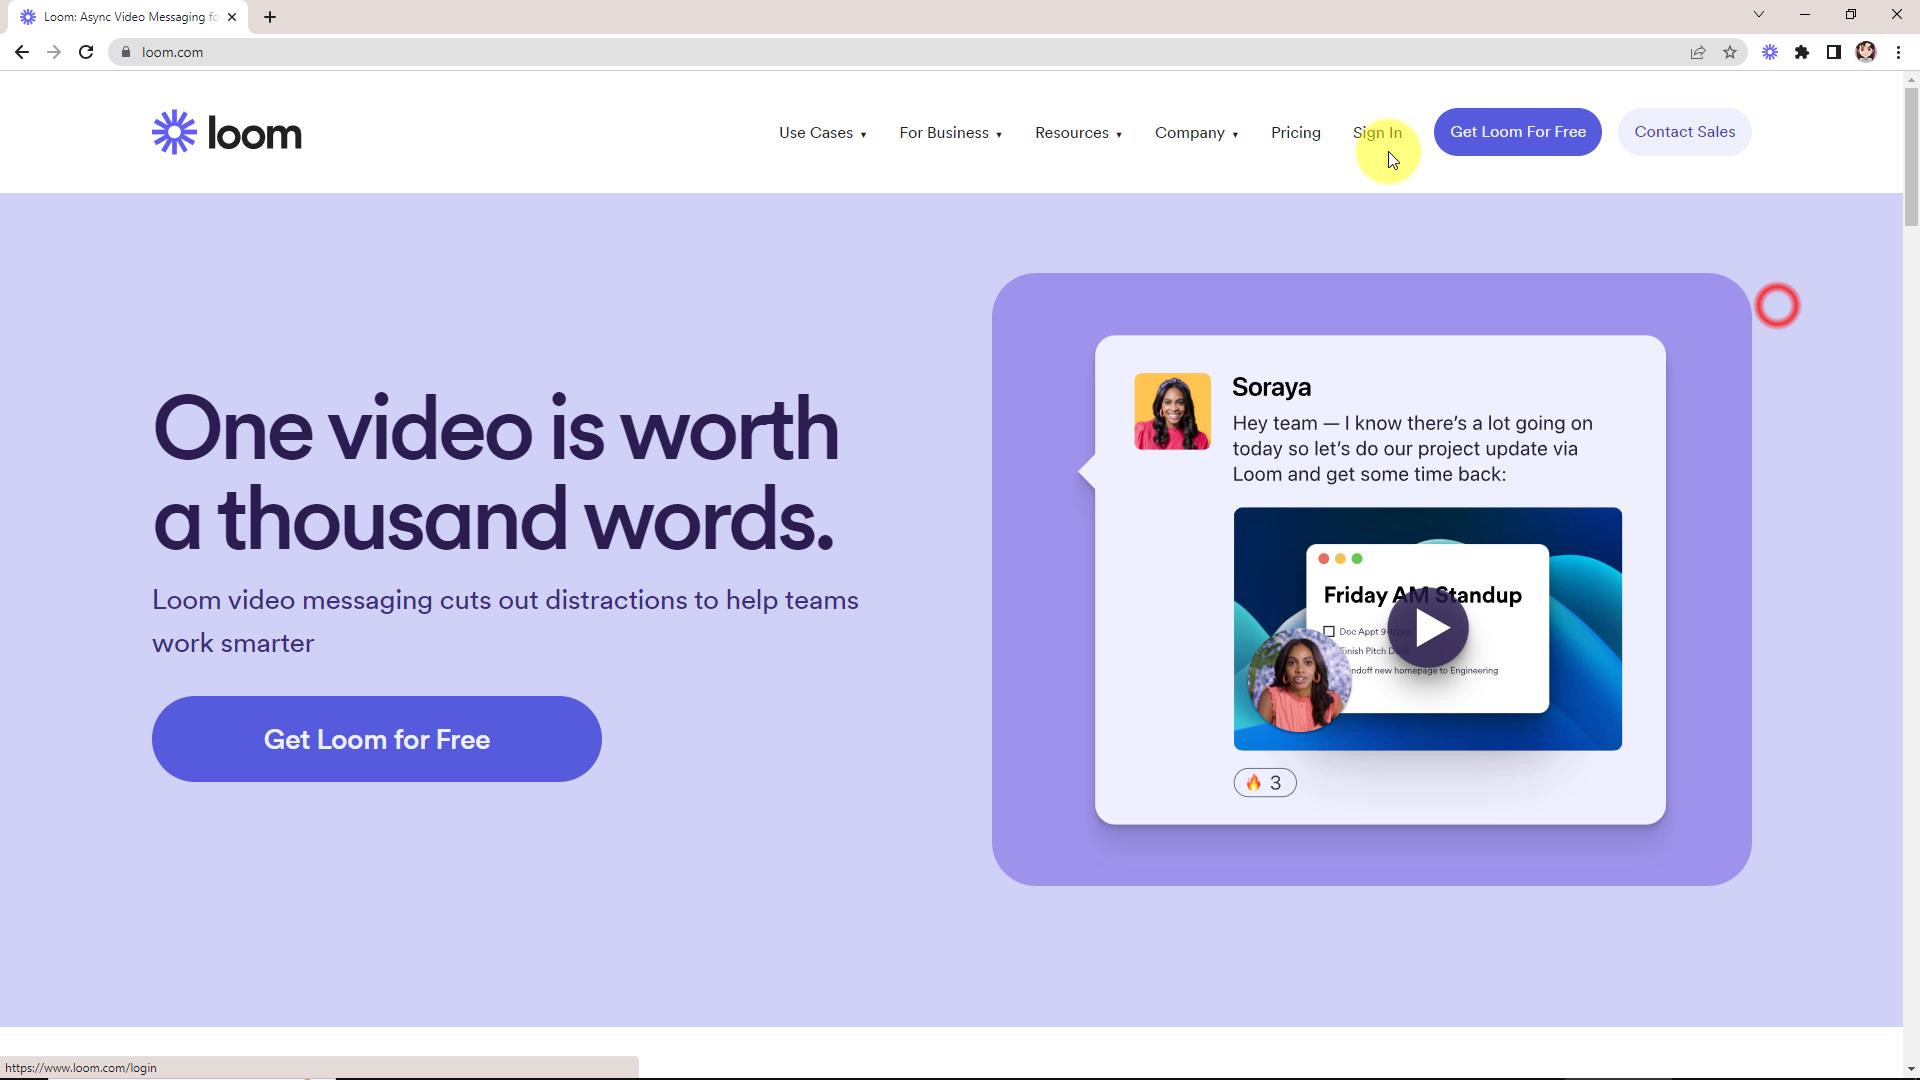
 Sign Up and Install Loom: Visit the Loom.com website and create an account. Install the Loom extension on your web browser or the Loom desktop app.
- Launch Loom: Open Loom and log in to your account.
- Choose Your Recording Type: Decide whether you want to record your screen, camera, or both. Loom offers full desktop, application window, or webcam-only recording options.
- Set Recording Preferences: Customize your recording settings (video quality, audio input, camera selection, etc.). Adjust these preferences based on your requirements.
- Prepare Your Content: Plan what you want to demonstrate or present in your video.
- Start Recording: Click on the Loom extension or app to begin recording. Follow the on-screen prompts to choose your recording area or enable your webcam.
- Record Your Video: Present your content while Loom records. Speak clearly and concisely, making sure to engage your audience.
- Finish Recording: When you’re done recording, click the stop button in the Loom extension or app.
- Save and Share: Once satisfied with your video, save it to your Loom library. You can then share the video with others by generating a shareable link or embedding it on websites or presentations.
Note: If you add Loom to Chrome you might see a message like this from Chrome “Read and change all your data on the websites you visit” “
You do not need to worry about that, as it comes from Chrome. They will NOT change your website. See the message from the loom.com company here https://support.loom.com/hc/en-us/articles/360002224237-Chrome-extension-permission-requests-explained
Back to Bonuses